In today’s fast-paced digital world, your clothing brand’s first impression often starts with an image. Whether you're selling apparel online or curating a fashion portfolio, high-quality clothing photography is no longer optional—it’s essential. This guide breaks down everything you need to know about photographing clothing, from gear and lighting to creative styling and post-production.
Images do more than show a product—they build trust, convey quality, and shape brand perception. According to industry research, high-quality product photos can increase e-commerce conversions by up to 30% and drastically reduce return rates.
But beyond e-commerce, great clothing photography serves many roles:
· Storytelling: It visually defines your brand identity—minimalist, edgy, vintage, etc.
· Platform versatility: One shoot can produce images for your website, ads, email campaigns, and social media content.
· Emotional connection: Lifestyle and detail shots help customers imagine themselves in your clothes, creating aspirational appeal.
You don’t need a Hollywood budget to take stunning clothing photos, but the right tools make a difference. Here’s what you’ll need:
· Camera and Lenses: A DSLR or mirrorless camera with at least 16 megapixels is ideal for sharp, detailed shots. For beginners, a modern smartphone with a high-resolution camera can work wonders. Pair it with a 50mm or 85mm lens for crisp focus and a flattering depth of field.
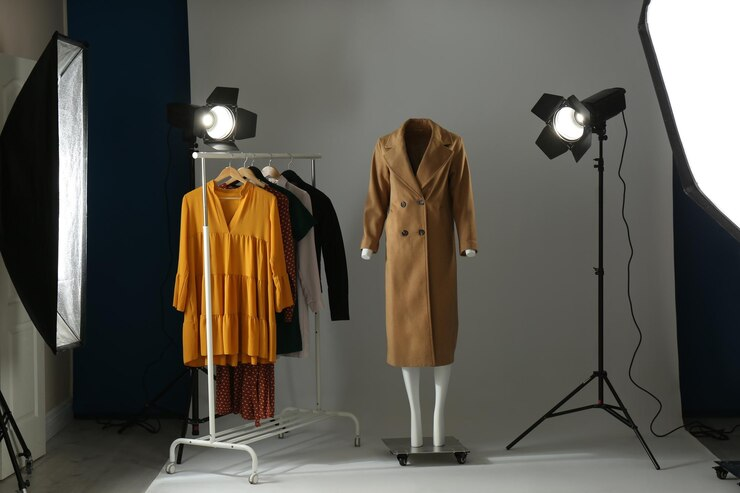
· Lighting: Soft, diffused light is your best friend to avoid harsh shadows. Invest in a softbox or ring light for consistent results, or use natural light from a window for budget setups. Two lights positioned at 45-degree angles work well for most shots.
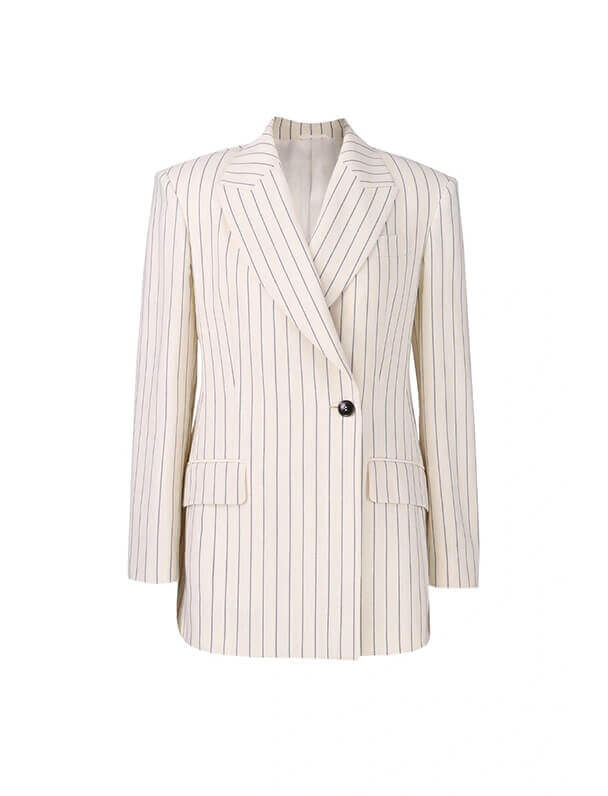
· Backdrop: A seamless white or light gray backdrop keeps the focus on the clothing and is perfect for e-commerce. For lifestyle shots, try textured or colored backdrops like wood or brick.
· Mannequins or Models: Mannequins offer consistency and are great for the “invisible hanger” effect, while models bring life and context to your shots. Choose based on your brand’s needs.
· Additional Tools: A sturdy tripod prevents shaky shots, reflectors bounce light to fill shadows, and clamps or tape help secure flat-lay setups.
You don’t need a fancy studio to get started—any clean, well-lit space will do. Here’s how to set up:
· Choose Your Space: Pick a room with ample space to move around and access to natural light or power outlets. A spare bedroom or garage corner works fine.
· Prep the Clothing: Steam or iron every garment to remove wrinkles. Pin or tuck fabric to highlight fit and details, like a jacket’s collar or a skirt’s pleats.
· Set Up Lighting: For artificial light, place two softboxes at 45-degree angles to the clothing for even coverage. If using natural light, shoot near a large window with sheer curtains to diffuse harsh rays.
· Arrange the Backdrop: Hang a seamless backdrop or tape it to a wall for a clean look. For lifestyle shots, add props like plants or chairs to create a scene, but keep them subtle to avoid stealing focus.
Once you’ve mastered the gear and setup, it’s time to bring your clothing to life through effective photography techniques. Whether you're aiming for simple product shots or expressive lifestyle images, each approach serves a purpose in building your brand’s visual language.
Perfect for beginners and budget-conscious brands, flat-lay photography involves laying garments flat on a clean surface. Use a white foam board or seamless paper background, style the clothing symmetrically, and shoot directly overhead. This method is ideal for accessories, t-shirts, and social media content.
To add a 3D sense without using live models, dress your garments on mannequins. For a high-end e-commerce look, you can create the invisible mannequin effect by photographing the item on a form and removing the mannequin in post-production. This keeps the focus entirely on fit and construction.
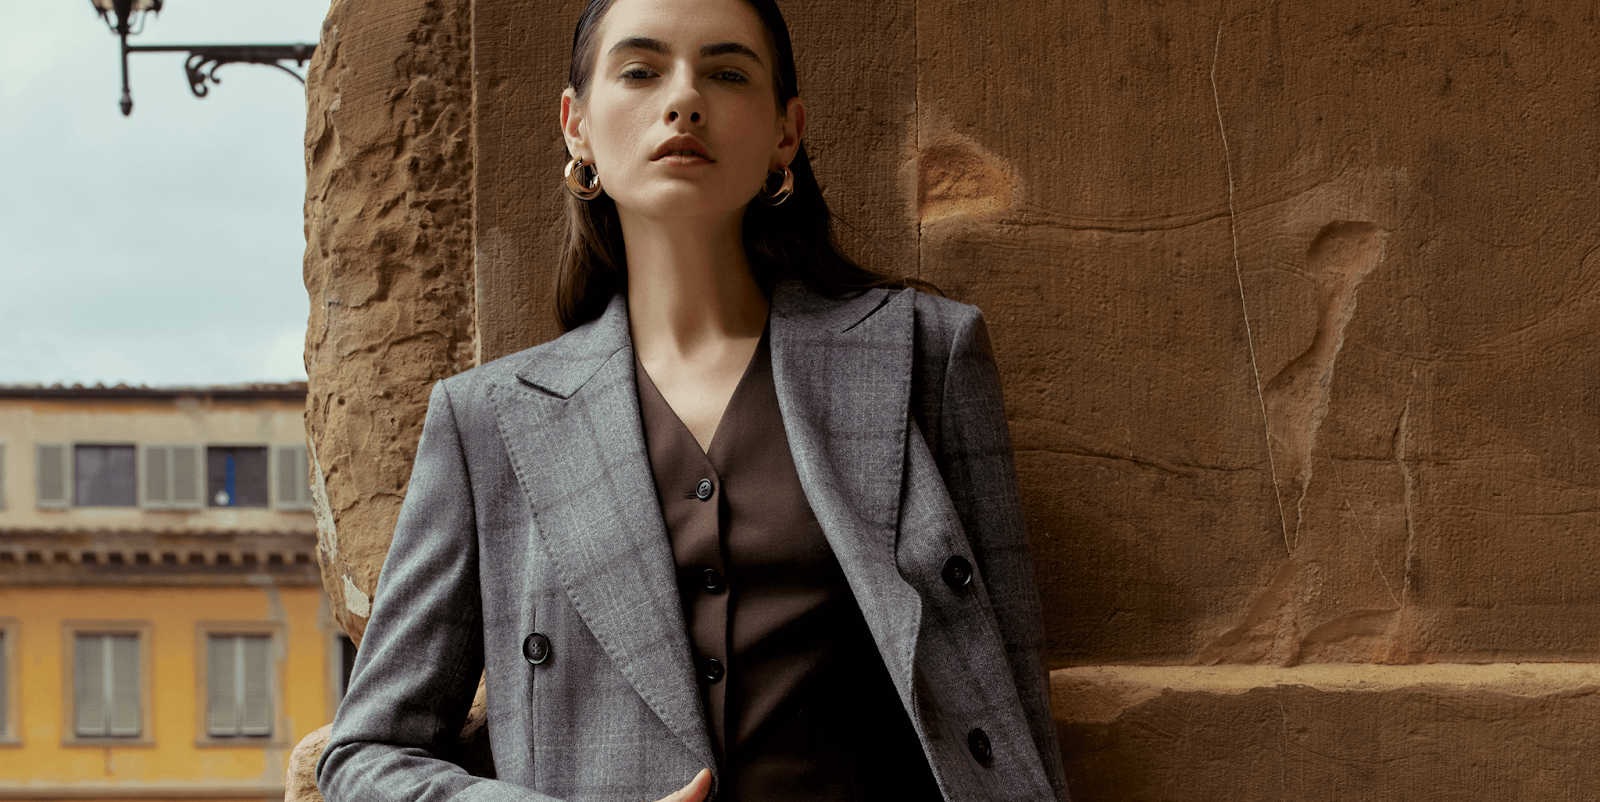
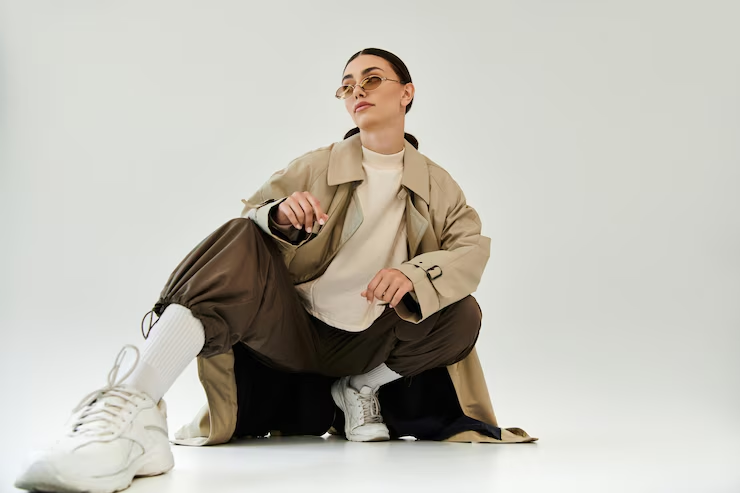
Models introduce motion, lifestyle, and relatability. Have them pose naturally—walking, sitting, or interacting with the environment—to show how the clothing moves and fits in real-life scenarios. Candid moments often feel the most authentic.
Want to show off flowing fabrics or sporty fits? Ask your model to move—twirl, jump, or walk toward the camera. Capture in burst mode to freeze dynamic movement and add energy to your shots.
A creative fusion between flat-lay and ghost mannequin techniques, hybrid photography involves hanging or lightly propping the garment and then editing out the supports. It's especially useful for structured pieces like coats or shirts, providing both shape and style.
For e-commerce sites aiming to improve customer interaction, a rotating turntable setup lets you shoot products from all angles. You can create GIFs or interactive 3D viewers that boost buyer confidence.
To highlight the texture or transparency of fabrics like chiffon or lace, use a soft light source (like a large window or softbox) from behind the garment. This high-key effect creates an editorial feel and elevates lightweight designs.
Once your technical shots are ready, it’s time to align your imagery with your brand identity. Ask yourself: What emotion, lifestyle, or value do I want my audience to feel when they see this image?
· Styling props: Use chairs, bags, books, or coffee mugs sparingly to enhance a vibe without overwhelming the garment.
· Color theory: Match or contrast background and props using complementary color wheels. For example, dusty pink clothes pop against sage green backdrops.
· Model diversity: Feature models of various body types and ethnicities. Customers are more likely to convert when they see themselves represented.
If you're working with custom apparel suppliers, ensure your images reflect the uniqueness of your product line—tailored fits, personalized designs, or niche fashion touches should be visually emphasized.
Stand out with photos that pop. Try these creative approaches:
· Lifestyle Shots: Place your clothing in real-world settings, like a cozy café or a sunny park, to make them relatable. A model wearing your sweater while sipping coffee tells a story that resonates.
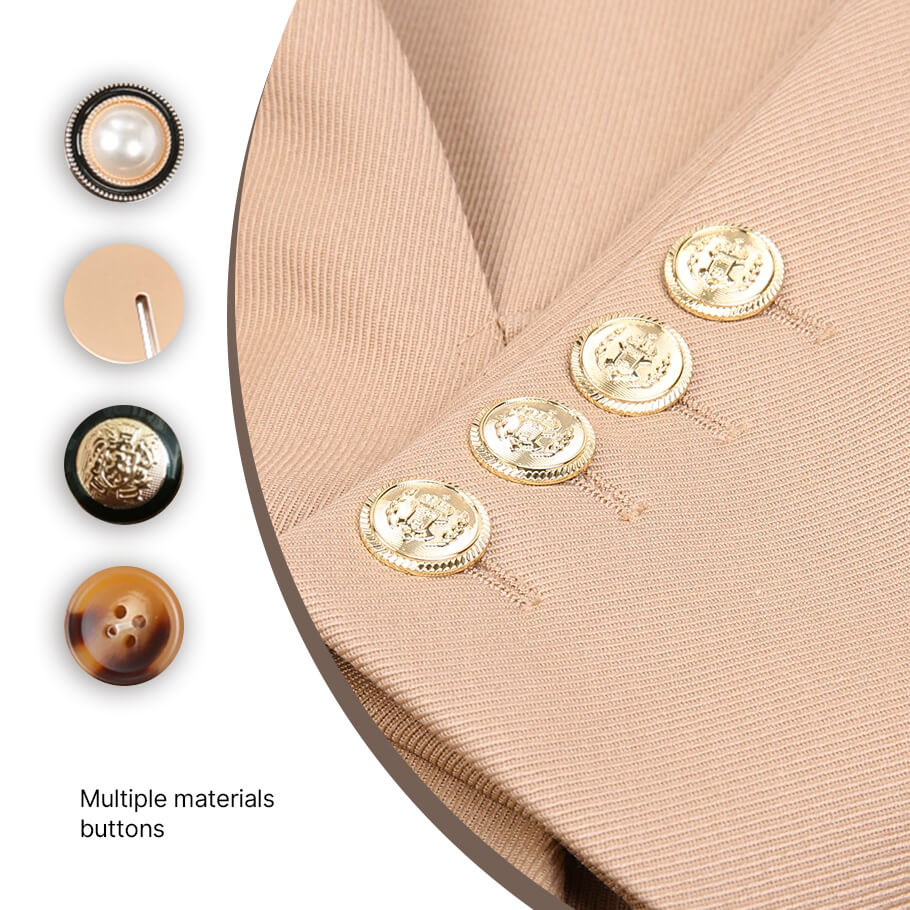
· Detail Shots: Zoom in on unique features like embroidery, buttons, or fabric texture. These close-ups build trust by showing quality craftsmanship.
· Themed Shoots: Create a mood with seasonal or brand-specific themes. For example, a fall collection might feature warm tones and leaf-strewn backgrounds, while a minimalist brand could use stark white spaces.
· Dynamic Angles: Mix up your shots with top-down, 45-degree, or low-angle perspectives. A low-angle shot of a flowing dress can add drama.
· Color and Composition: Pair clothing with complementary backgrounds or props. A red dress against a soft green wall creates a striking contrast without overwhelming the product.
· Photography is especially important when you sell made to measure clothes online, as customers rely entirely on images to assess fit, style, and quality. Highlight details like tailored seams, fabric drape, and model measurements whenever possible.
Editing polishes your photos for a professional finish. Here’s how to do it right:
· Basic Adjustments: Use Adobe Lightroom, Photoshop, or free apps like Snapseed to tweak brightness, contrast, and saturation. Ensure colors match the actual garment to avoid customer complaints.
· Remove Backgrounds: For e-commerce, create a clean white or transparent background using tools like Photoshop or Canva. This keeps your product images consistent and distraction-free.
· Enhance Details: Sharpen images slightly to highlight textures, and fix minor flaws like lint or stray threads.
· Maintain Consistency: Apply the same editing preset to all photos for a cohesive look across your website or Instagram feed.
Even pros make mistakes, but you can dodge these pitfalls:
· Poor Lighting: Harsh or uneven light creates unflattering shadows. Always diffuse your light source.
· Wrinkled Clothing: A single crease can make a product look cheap. Steam or iron every piece before shooting.
· Inconsistent Backgrounds: Varying backdrops confuse customers. Stick to one style for product shots.
· Over-Editing: Heavy filters or unrealistic edits can misrepresent the clothing, leading to returns. Keep it natural.
Great clothing photography isn’t about luck—it’s about preparation, experimentation, and consistency. Whether you're starting small or managing a full apparel catalog, your visual content can become your strongest sales asset.
Remember:
· Shoot in batches for efficiency.
· Plan ahead with a creative direction.
· Let your brand identity guide every choice—from angles to editing.
Ready to elevate your apparel imagery? Then grab your tripod, light up that backdrop, and start telling your brand’s story one shot at a time.